


 Possible Causes for “This Accessory May Not Be Supported” Error
There are several reasons why the “This accessory may not be supported” alert may appear on your iPhone. Some of the major possible reasons include:
-
The cable is dirty, damaged, defective, or not MFI-certified (Made for iPhone/iPod/iPad). This means that the accessory you are using is not consistent with Apple’s standards and design.
-
The software of your device is malfunctioning- Software glitches may also prompt your iPhone to trigger the warning message when charging.
-
Your device’s lightning port is dirty - Dirt on these ports is likely to cause a barrier between the charger and the phone. This causes a poor connection between the charger and the phone, prompting the warning. It also happens when the lighting port is broken or completely damaged.
-
Your iPhone charger is dirty, damaged, or entirely broken.
 Potential Fixes for Resolving “This Accessory May Not be Supported” Error
Now that you know the causes for seeing “This Accessory may not be supported” message on your iPhone, let us dive right into the possible fixes.
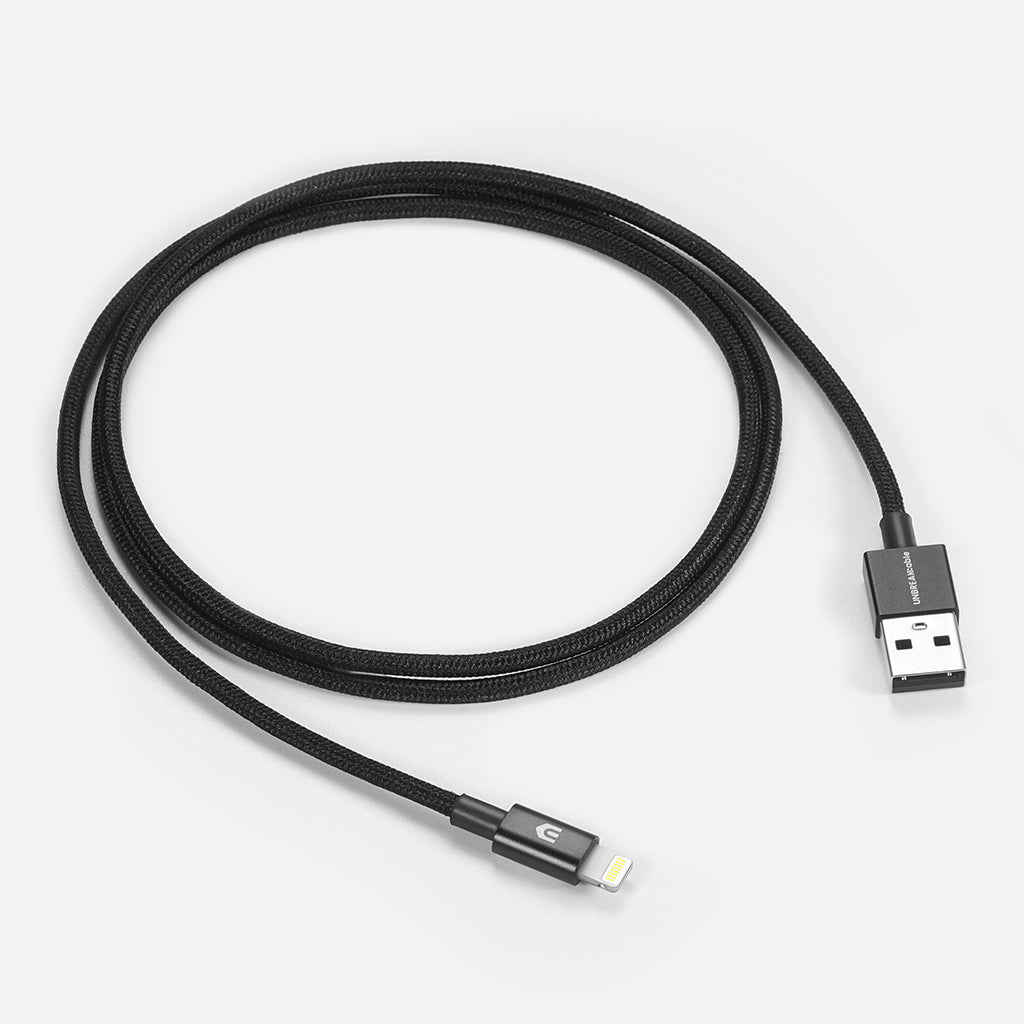
Solution 1: Ensure that the cable is MFI Certified
As stated earlier, MFI certified stands for Made For iPhone/iPad/iPod, and it means that the accessory has been certified to work with Apple products. If the cable you are using on your iPhone is not MFI-certified, a prompt error will appear.
To solve this problem, try as much as possible to use the original cables that were included with your iPhone. Still, if you opt to use third party cables, see to it that they are MFI-certified. The easiest way to know whether a product is MFI certified is by checking if its packaging has the “Made for iPad” or “Made for iPhone” badge. Also, MFI certified cables can sometimes have a 12-digit serial number and a smooth, consistent appearance.
However, if you cannot locate the accessory’s packaging or the serial number, you can search whether it is MFI certified or not here.
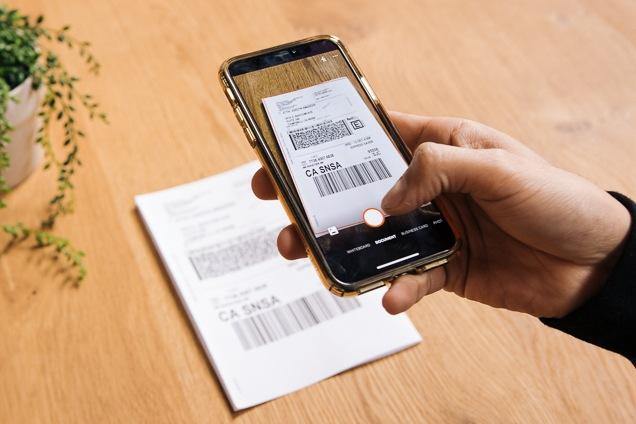
Solution 2: Examine Your Lightning Port
After inspecting your accessories and ensuring that they are in the MFI certified, it is now time to inspect your lightning port where you connect the lightning cable. Any dirt, debris, or gunk that is stuck inside the lightning port is likely to affect the connection between your phone and the accessory. Use a flashlight to thoroughly inspect the lightning port and then clean the inside using a toothpick. Be careful while doing this to prevent internal damage. Once done, try charging the phone.
Solution 3: Update the Latest Version of iOS
It is recommended to update your device to the latest version of iOS. This is because some accessories, particularly those made by Apple, may require the latest and updated versions before they can connect. To do this:- Go to Settings
- Click on General
- Then click om Software Update
- If there is a new update available, click on Download and Install
Before undertaking this procedure, it is important to ensure that your iPhone has at least 50 percent battery life or is charging.
Solution 4: Reset All Settings
Incorrect settings can trigger some errors on the iPhone device as well. Doing an all-settings reset would be ideal if the error appears after doing a customization of your phone’s settings. By doing a reset of the settings, you will be able to remove the auto-update overrides and all customized settings to help correct the errors.- Go to Settings
- Click of General and then Reset
- On the Reset tab,tap on Reset all settings
- Enter the passwords of your device and confirm to reset all settings on your device
After performing the reset, you phone will automatically reboot before loading up the default options.
Solution 5: Reboot your iPhone
In most cases, restarting your phone or doing a soft reset will likely do the trick. This can help to clear out minor errors in your system, including the “This accessory may not be supported” error.
To do a soft reset or reboot for your iPhone, follow these steps below:
Reboot for iPhone 6 or earlier models:Simultaneously press and hold the Power and Home button and wait for Apple logo to appear before releasing. Apple will automatically start.
Reboot for iPhone 7 or iPhone 7 plus:Press and hold the volume down button and the side switch button for about 10 seconds until the Apple logo appears.
Reboot for iPhone 8, 8plus, X, XR, XS and iPhone 11: Press and then release the volume up button on the left side of the device. Then press and let go the volume down button. Finally, press down and hold the home button of the device. Release this button when the Apple button appears.
Solution 6: Turn on Airplane Mode
It might seem simple, but turning on the Airplane mode on your device could do the trick. Once you have turned it on, power off your device and then turn it on in two minutes time, but with the accessory attached.
Solution 7: Charge Your Device Via a Computer
Last but certainly not least, try charging your iPhone via a computer and see if the warning message remains. If this works and the error is erased, then the problem could be with the power source.
 Conclusion